How Long Does a Car Battery in a New Car Last?

You rely on your car’s battery to start your car every time you turn the key. Whether you are driving to work or just hitting the road for a day of fun, you need to know that your battery is up to the job. Unfortunately, batteries don’t last forever, and even new car batteries will eventually need to be replaced. How long should the battery in your vehicle last? The answer isn’t always straightforward, and in many cases, it isn’t as long as drivers think it should be.

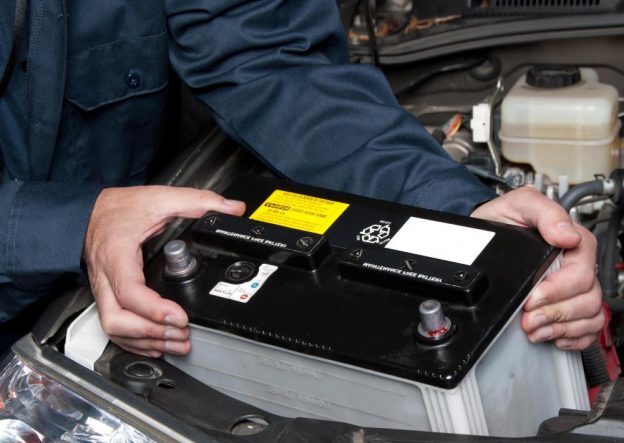
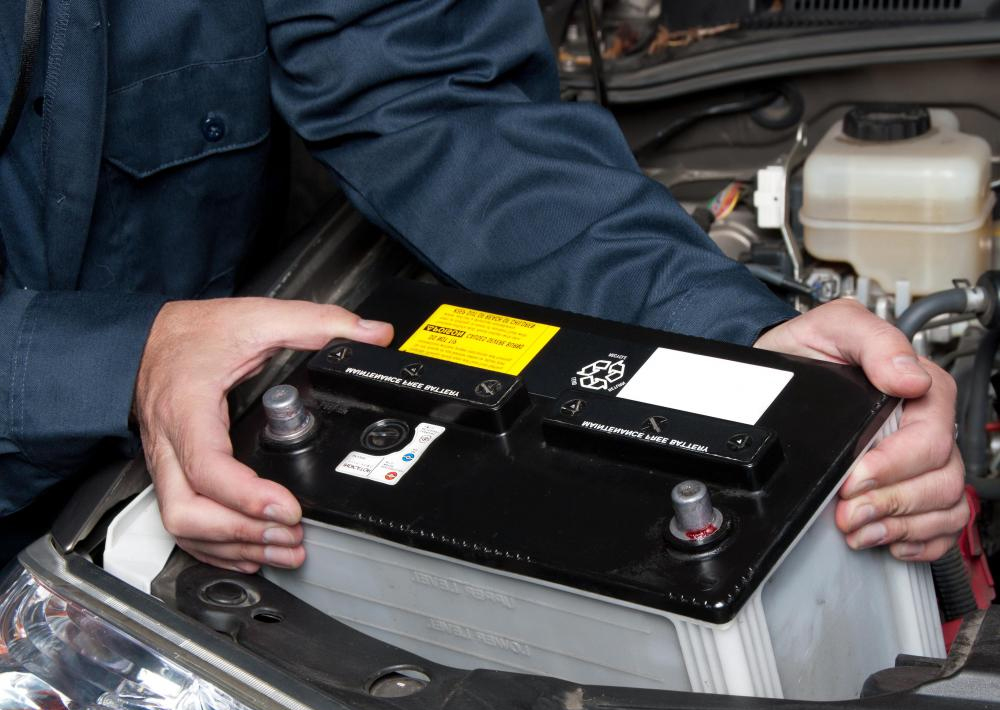
The main function of a car battery is to start your car. Today, most cars have a single maintenance-free 12-volt acid battery. A car battery is rechargeable. It uses its charge to power the vehicle systems while it’s parked and to turn over the engine when you want to start it. Once you start the car, the alternator generates additional electric power to recharge the battery. Over time, a battery loses its capacity or ability to hold charge. One day, a weak battery will not be able to start your car. Often, this happens when the weather gets cold. When the battery is low on charge, a car will need to be boosted to start. To avoid this situation, a battery should be replaced before its capacity drops to a critical level.

A good ballpark figure for car battery life is five years, but there are a number of reasons why you might find yourself replacing your battery much sooner. Depending on the types of journey you tend to take your car on, you could find your battery starting to show signs of age at three years, and become practically unusable after four.

Your car’s battery is used to start the engine when you turn the key. This requires the battery to effectively empty itself in one go, before being slowly charged back up again by the engine. If you constantly make small journeys, the battery will deteriorate faster and need replacing sooner than if you regularly travel longer distances.

Most batteries will have a stamp on them, which tells you the month and year the battery was made so you’ll have an idea of when it needs to be replaced. It’s also recommended to check your car owner’s manual. If you’re lucky in that your car battery does show signs of dying, those may include electrical systems going on and shutting off and the engine cranking low, mechanics say.

While the lead-acid car battery hasn’t changed much in the last 100 years, it’s still a difficult part of the car to check during routine maintenance. Simple battery testers can’t, at this time, muddle through the chemical complexity of what goes on in a battery. Instead, they provide a sort of snapshot of the battery at the time it’s being tested without the context of the battery’s chemical composition before or after the test.

So the rule of thumb is simple for battery replacement: You have approximately four years before the battery will theoretically begin its slide from chemical powerhouse to chemical paperweight. At the four year mark, start watching, and hope your mechanic will detect a problem before it’s too late. But due to the nature of the chemical cocktail inside any battery, it may give out before the four year mark, or maybe it will last for several more years.

Why Is My Muffler Rattling?

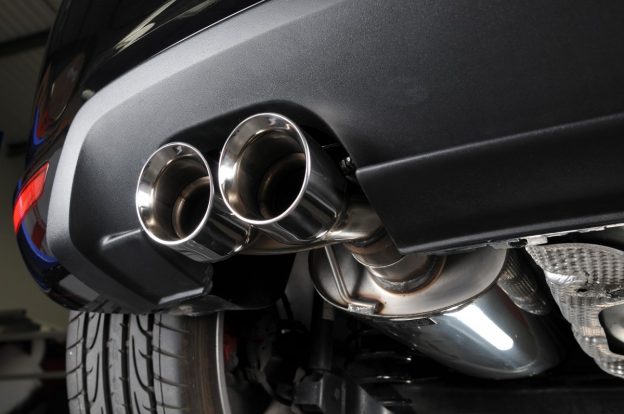
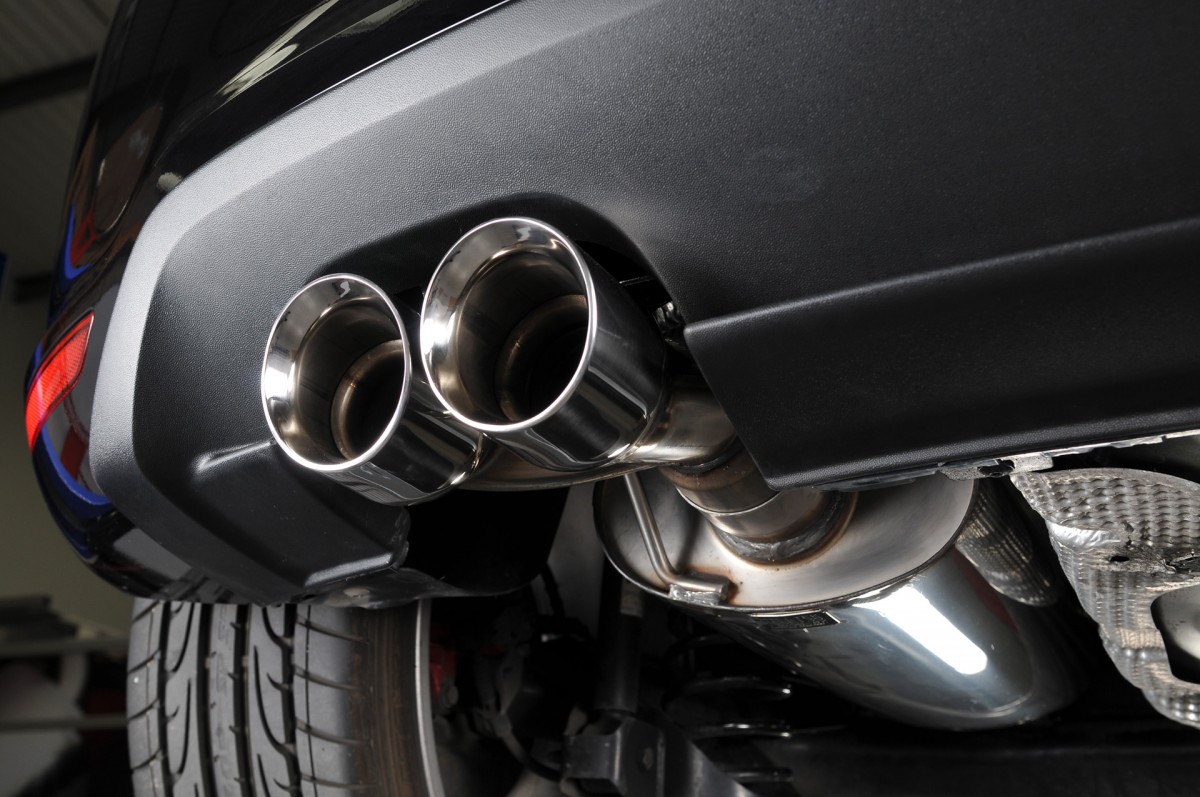
Most exhaust problems can be diagnosed by listening for unfamiliar noises or with a visual check underneath the car. The silencer is the part of the exhaust that usually needs attention first, as it is the furthest away from the engine and is the most likely to be corroded by acidic moisture. This is because these parts remain relatively cold and give exhaust gases a chance to condense and form pools of corrosive acid inside the system. You’ll know that you have a problem with your silencer because your exhaust starts making a loud roaring noise.

Other noises to listen out for include hissing, which indicates a crack in the exhaust manifold, exhaust pipe or a leaking gasket. A chugging noise could mean a blockage in the exhaust system. If you hear rattling under the car it could mean that the exhaust system has become misaligned. If you can hear a loud metallic vibration, it usually means that something is touching the exhaust pipe or that a clamp, support bracket or mounting is loose. Hangers and brackets hold your exhaust in place. If these become corroded, fractured or fall off completely, it can cause extra stress to the exhaust housing which can also lead to premature exhaust failure.

Other problems can be identified with a visual check. Examine the entire length of the exhaust from the engine all the way down to the tailpipe and look for any cracks or holes, especially where one section meets the next for example the seams and joins between the exhaust manifold and the cylinder. External rust may not be as serious as it first appears, because it may only be on the surface. However if the component has rusted through or is rusted from the inside because there is an internal condensation build up, it may be a cause for concern. Use a screwdriver to gently prod rusty areas; if the structural integrity feels weak or a hole is formed, it is a sure sign that this section of the exhaust needs to be replaced.

A loose bracket, rubber hanger or connector, or one that is badly corroded, can allow a muffler to rattle when you accelerate or drive on bumpy roads, or even when the car is stationary and idling. A loose muffler can allow excessive movement in other components as well and increase the stress on those parts, so it can become more than an annoying noise if left unattended. If the muffler is hanging lower than normal, there’s also a risk that it could be broken off by hitting a bump or going over railroad tracks. Modern exhaust systems are usually made of aluminized steel or stainless steel, but that doesn’t mean they or the parts that hold the exhaust components in place last forever. Heat, debris, road salt and moisture can all cause rust in the exhaust system.

Though a muffler rattle might be fixed simply by tightening a couple of bolts or replacing a broken hanger, the corrosion might be bad enough on the muffler or neighboring parts that they will have to be replaced. A rattle or banging noise from the exhaust system might not be an external problem. Baffles or other components inside of mufflers can come loose and cause internal rattles.

In addition, the muffler may not be the only cause or even the culprit. Brackets and bolts securing tailpipes, heat shields above catalytic converters and other components can come loose, and catalytic converters can develop internal rattles when they go bad.

What Are Common Suspension Problems?

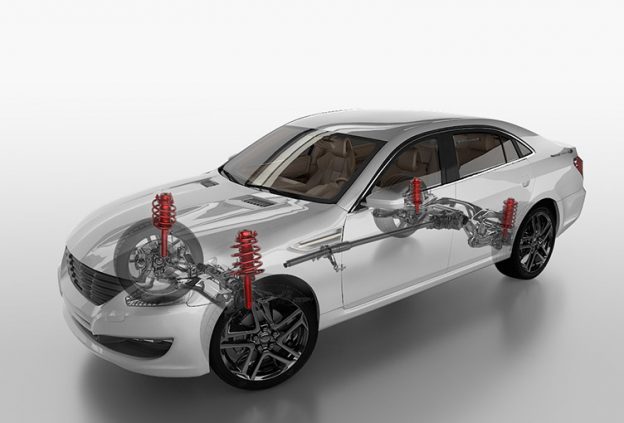
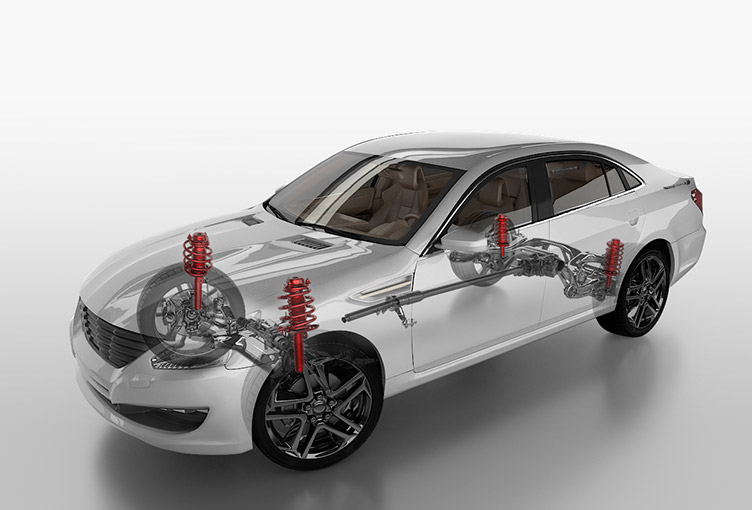
Suspension components, including springs, shock absorbers, anti-roll bars, control arms and other parts, are like combat troops serving on the frontlines: They take a pounding daily from potholed streets, railroad tracks, rain, snow, road salt, gravel, all manner of dirt and grime, and the occasional piece of scrap metal or other debris that drivers see too late to avoid. Any kind of problems with this system can lead to shaking, although loose connections, bad tires, and worn or corroded, rusted cylinders are some of the most common. These kind of problems can be difficult to diagnose by yourself for people with little or mechanical experience, but are easiest to fix once they’ve been identified. You need to keep your entire system in good shape to avoid recurring problems. Suspension systems don’t just get damaged at once, they do so with time. Such things as steering control and ineffective breaking among other factors contributing to the damage. Here are some common suspension problems you will encounter:

1. Poor wheel alignment- The wheels have to be pointed in the right direction (literally) and aligned for toe-in, camber and caster. If they aren’t, your steering won’t be centered when you’re going straight and tire wear will increase. Wheels get knocked out of alignment by potholes and curbs, but getting the wheels aligned won’t fix damaged springs, controls arms or other parts that affect alignment. When you buy new tires, it’s a good idea to have the alignment checked so suspension issues don’t shorten tread life.

2. Brake issues- Cars with trouble during deceleration might have some brake issues. The function of the brakes is to slow the entire car, which is often more difficult than simply stopping the tires from rotating. Issues with brake pads, cords, or connections can cause shaking or vibrating in the steering column as misdirected energy looks for a way out.

3. Worn out shock-absorbers- When you notice more bouncing even when you hit a small pothole just know that your absorbers have been completely worn out.

4. Springs- These are what hold the weight of the car, and as they wear they can sag or break. If your car is on level ground but one corner is lower than the others, that’s a sign of a damaged spring. You can measure the height of the corners to confirm your visual cue. You might also hear clunking noises over bumps, and the car may not corner with confidence because a damaged spring can’t control the weight it’s supporting.

5. Steering column- There’s also a possibility that a steering wheel is shaking because of a problem in the steering column itself. This happens when there are lose screws or twisted wires in the interval between car and steering wheel. Cars with this kind of problems often have this shakes most when temperatures are very cold; frozen screws and sockets do not always have the same friction as they do during this periods. This can make sounds and vibrations get very pronounced.
It’s generally a good idea for drivers to get a mechanic’s input soon as the suspensions starts to shake. Pay careful attention too.

Windshield Repair And Replacement

It is important for a car owner to have their car parts checked for efficiency and durability. Every incorrect installation is a crucial thing and can cost a life. A windshield is an important part of your auto since it will protect you by adding strength during an accident and prevents the person from being ejected from the car. you see your windshield every time you take over your car but do you mind and inspect what might be its problems? Unlike the side and rear mirrors, once it has trauma, it can shatter into tiny pieces or can crack entirely. Because windshield is made of laminated construction, it is made of 2 layers of glass with polyvinyl butyral layer in between. Once a crash occurs, your windshield can protect you if it is properly installed.

Never choose the lowest price option. You never know what they did not do. An incorrect installation of a windshield may cost you your life. Whenever a passenger experiences a crash, when the airbags will be released, it will add force to the windshield so if it is not glued on properly then it will blow out. Make sure to use and original manufacturer’s glass plus find a trusted installer because some installer will schlock out. The windshield is the number one restraint in your car. whenever the windshield breaks, the PVB will hold it together rather than put to it pieces and harm the passenger. After being installed, the car should rest for at least an hour up to 12 hours. Once the installation is finished, check for signs of correct placement. Check for molding, if it is straight and that there are no signs of adhesives. The auto should be clean inside, there should be no signs of debris or dirt left in your car.

You can bring a clear tape and just stock it in the compartment for whenever there are cases of crack form rock chips. Windshield that are pitted or hazed needs to be replaced because it can magnify the glare of headlights from the cars facing you. if a damage in your windshield is smaller than a quarter or shorter than the length of a bill, it can be repaired if it does not cross the driver’s sight. You can use vacuum and pressure, you need to remove the air from the break and inject a resin that is liquefied than can be cured by the ultraviolet light. Replacement is needed when the damage is larger in size and that it can not be repaired or if it is in the driver’s sight.

You can cut through the urethane adhesives around the windshield’s edges and remove it from the auto. Then you will inspect, clean and prepare the pinchweld area around the car’s windshield opening. New urethane adhesives is applied then the windshield will then be put in place. But without proper training and right tools, it could be a disaster. Make sure to inspect the work right after.

How Do I Know My Headlights Are Aimed Properly?

It may not seem obvious at first, but the adjustment on your headlights might be all wrong. How do you know for sure? Among obvious signs that your headlamps aren’t properly aimed are oncoming drivers flashing their lights at you because your lights are blinding them even without your high beams turned on, or the road ahead is brightly illuminated for only 20 feet or so, meaning the headlights are aimed too low. Proper alignment is important when installing new headlights. Each headlight must be securely mounted and properly aimed so the beam pattern “cut off line” complies with all applicable regulations. It is recommended that headlights are aimed with a headlight aiming system for proper alignment. If you are not familiar with the legal requirements for aiming your headlights, please see a professional service provider.

When your headlights aren’t shining in the right direction, you know it. It’s tough to see and be seen on the road. Or you’re inadvertently blinding other drivers, which isn’t very neighborly of you. Headlight alignment can change after an accident, when new lights are installed, and as driving miles accumulate. Checking and aligning headlights only requires a couple tools, and is a straightforward fix. It is recommended to kill two birds with one stone by changing headlight bulbs at the same time. Here is how you adjust the headlights:

1. Check under the hood to see if your lights have levels. If they do you just need to align them if they are out of alignment.

2. Remove all contents from your car or at least anything throwing the vehicle off-balance, like junk in the trunk, passengers, and any excess baggage in the backseat.

3. If your driveway is not flat, find a family member or friend, preferably with a flat 25-foot driveway and a garage, who does not mind if you borrow theirs for a few minutes.

4. Gather tape and necessary tools.

Suspension problems or a heavy cargo load can change your vehicle’s ride height and shift one or both headlights subtly. A collision or hitting a road hazard also can move a light assembly and misalign your lights. One way to tell if headlights are correctly aimed is to park the vehicle on a level surface and shine the headlights on a garage door or wall 25 feet ahead (some cars may require a different distance). The top of the low beam shining on the wall should be at or slightly below the height of the center of the headlight lens for most vehicles. You should expect the light pattern to be higher on the right side (passenger side) to illuminate road signs and lower on the driver’s side to prevent blinding other drivers. This should give you a good idea of whether the beams on both sides are aimed correctly.

Another method is to pull the vehicle within 5 feet of the wall and then use masking tape to mark the vertical and horizontal centers of the light beams on the wall. Move the vehicle back 25 feet. With the aid of the tape line, the light beams should be roughly the same height vertically and horizontally. Vehicles have an adjustment screw or bolt on the headlight assembly for adjusting headlight height, and some also have a screw for horizontal aim. Some vehicles also have a bubble level to help with adjustments.

On some vehicles, you might have little or no space to reach the adjusters without removing parts, such as the battery. Additionally, to get an accurate reading, the vehicle should be on truly level ground, the ride height shouldn’t be affected by damaged suspension parts, flat tires or cargo, and the vehicle needs to be perpendicular to the surface on which you’re shining the headlights. Many vehicle owner’s manuals give little or no guidance on headlight aiming. When in doubt, ask a repair shop to check. If a vehicle is still covered by the basic warranty, a dealership may check the headlight aim and align it at no cost.

Can Airbags Go Bad?

Airbags are one of those things most people never think about – until they are quite literally in your face. Because they stay hidden, it is easy to overlook them. But is out of sight out of mind a good mantra for these life-saving safety features? Like other important vehicle components, do airbags require inspections? What about replacement? Is there an expiration date stamped somewhere deep within your steering column?

If you have a newer car, you can assume that your airbags will never require replacement. In modern vehicles, airbags do not expire and are designed to last throughout the car’s lifetime. If your car is older, however, your car’s manufacturer may advise you to change out your airbags as part of routine maintenance. According to automotive experts at Edmunds.com, this is usually only a concern in vehicles that predate 1990.

In the U.S., millions of vehicles produced by Honda, General Motors, Toyota, Nissan, Ford, Chrysler, BMW and other manufacturers with Takata airbags have been recalled because of defective inflators that can lead the airbag to explode, spreading shrapnel. Four deaths in the U.S. have been blamed on the defective airbags. One area being investigated is whether the propellant used to inflate the airbags, ammonium nitrate, became unstable because of long-term exposure to humidity and moisture.

Overall, though, airbags have been reliable, auto manufacturers and safety officials say. Frequent reports can be found of airbags installed in vehicles 10 or 15 years ago deploying as designed when needed. That ability to stand the test of time means that no automaker, to our knowledge, currently recommends a time or mileage limit when airbags should be replaced during the 1990s, some did recommend replacement after 10 years.

However, no manufacturer covers replacement of airbags or related components after the warranty expires. Some manufacturers advise in their owner’s manuals to have airbags inspected after 10 years, so it might be worth checking into if you have a vehicle from the 2005 model year or older. This doesn’t mean airbags last forever or will always deploy as expected, no matter what. Frequent reports from vehicle owners say that airbags didn’t deploy when they were supposed to. Crash sensors or wires can corrode or be damaged in an accident and not replaced, for example, or the electronic controls for an airbag system may not be working or could be disconnected.

In those cases, a dashboard warning light that signals that the airbags aren’t armed and ready to deploy should illuminate. However, the warning light may not be working or may have been intentionally disconnected to cover up that the system isn’t functional. There are even reports of vehicles being sold that had been in an accident in which the airbags deployed and hadn’t been replaced. The airbag warning light should come on briefly every time the vehicle is started. If it doesn’t or if the warning light stays on, a qualified repair shop should check the system. The Insurance Institute for Highway Safety advises that if airbags need replacement after deploying or if they need repair, this should be done at a repair shop that uses original equipment manufacturer replacement parts. That ensures that the new airbag isn’t counterfeit or a salvaged part that isn’t designed for your vehicle.

The cost of replacing a nonfunctional airbag varies by vehicle. Check with your dealer or mechanic.

Common Spare Tire Problems

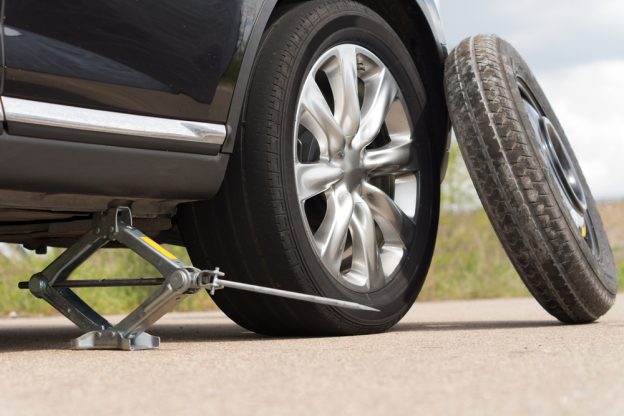
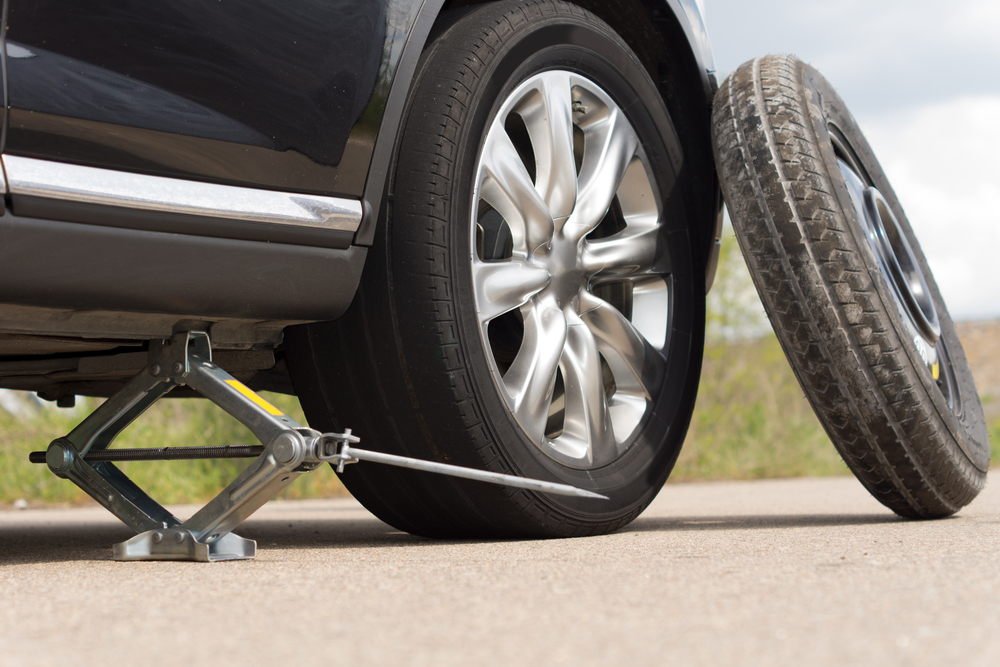
A spare tire or spare tyre is an additional tire carried in a motor vehicle as a replacement for one that goes flat, a blowout, or other emergency. Spare tire is generally a misnomer, as almost all vehicles actually carry an entire wheel with a tire mounted on it as a spare rather than just a tire, as fitting a tire to a wheel would require a motorist to carry additional, specialized equipment. However, some spare tires are not meant to be driven long distances. Space-savers have a maximum speed of around 50 mph. When replacing a damaged tire, placing the compact spare on a non-drive axle will prevent damage to the drivetrain. If placed on a drivetrain axle, the smaller-diameter tire can put stress on the differential causing damage and reducing handling.

You never know when you’ll need to use your spare tire, but because it’s out of sight on most vehicles it’s usually out of mind, too. Even if the spare is mounted on the back of an SUV in full view, chances are it doesn’t get the attention it deserves or the air pressure it needs. All tires lose air pressure over time because air permeates rubber. If a compact spare tire has been tucked away under a cargo floor for five years, there’s a good chance it’s severely underinflated and possibly unable to handle the load and stress of emergency road duty. An underinflated tire can’t safely carry the same amount of weight as a fully inflated tire.

Compact spares typically should be inflated to around 60 pounds per square inch; one far short of that level could fail and damage the wheel as well. Even a fully inflated “doughnut” spare is designed only for temporary use, though, typically up to 100 miles at speeds no higher than 55 mph. Repair shops that perform tire rotations routinely check the inflation levels of the four tires on the vehicle, but the spare is usually ignored. To be safe, vehicle owners should ask that shops check the spare or do it themselves at least twice a year.

On SUVs and trucks that mount the spare on the liftgate or under the cargo area, long-term exposure to dirt, salt, water and snow can cause corrosion, and make it hard to remove the mounting hardware or operate latches and cables in an emergency. Periodic inspection, and cleaning or lubrication if needed, can make it easier to remove the spare when a tire goes flat. If your vehicle has a tire inflator kit instead of a spare tire, you could run into different issues. First, the sealant may not be able to seal all punctures, depending on their severity and location. In addition, the sealant that gets injected into the tire probably has an expiration date. The sealant might not work as well after that date, so it should be replaced.

Finally, if you’re the kind of person who routinely drives with the trunk or cargo area loaded with unnecessary stuff, keep in mind that you’ll probably have to remove all that stuff to get to the spare tire and jack, and then put it all back when you’re done changing the tire. Moreover, a compact spare tire fits as snug as a bug and is out of sight, but a flat and usually filthy full-size tire and wheel won’t fit into the same spot and will have to share space with all that stuff. Keeping a large plastic trash bag in the vehicle will allow you to transport a flat tire without dirtying the trunk or, potentially, the cabin.

Spare tires may not be mentioned on service menus at repair shops, but a little preventive maintenance can pay dividends when they’re needed.

How To Find An Auto Mechanic You Can Trust

Anyone still using the verbiage “What you don’t know can’t hurt you” needs to stop now because it’s exactly the opposite.  Paying someone to complete a job you know nothing about and then trusting them to do the job right is financially irresponsible and should be avoided at all costs.  Auto mechanics are certainly not the only profession where consumers can be taken advantage of, but it’s one of the most prominent.

Mechanics often get a bad rap because they are viewed as being sneaky, underhanded, dishonest people that are always trying to screw consumers over.  While you’ve probably heard your fair share of auto repair nightmares, a well educated and well prepared customer will have an infinitely greater chance of finding an honest and well respected mechanic, and that’s what were going for here today.

Finding a good mechanic can be one of the most valuable adds to your portfolio.  Between normal check-ups, routine maintenance and emergency repairs, the average consumer spends thousands of dollars in auto repairs for each car they own. And over the course of your life, that’s a lot of cars!  Just as you would with any other financial decision, seeking out the right body shop takes a little research, a little time and hopefully a little fun.  With the step-by-step checklist below , you can ensure that you’ve done your homework, which should translate into big time future savings and an even bigger peace of mind.

1. Hit your social network for suggestions and for places to avoid. This is one of the areas where one’s personal network can really come through. Reach out to as many people as you can in your area and ask for mechanic recommendations – both positive and negative.

2. Check for certification. An Automotive Service Excellence (ASE) certification is a good indicator of a trustworthy and trained mechanic. You should also look for a shop that shows, in-store or on their website, affiliations with reputable establishments. Another sign of credibility is if the shop services classic or specialty cars that require advanced expertise.

3. Find a shop for your brand of car. Many garages specialize in certain makes. Those that focus on your type are more likely to have the latest training and equipment to fix your vehicle.

4. Do they communicate clearly? Does the mechanic clearly explain what they are going to do and take the time to answer your questions? Do they give you an estimate and stick to it? If extra work does need to be done, will they check with you first before the new charges are incurred?

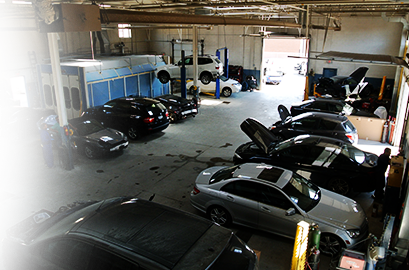
5. Bring Your Car In For a Test Run. Before spending hundreds or thousands of dollars on a repair, test a few shops out in your area by bringing your car in for regularly scheduled maintenance like oil changes, tune ups, and routine inspections so you can get a feel for the place.  Take a look at all of the certifications and awards they’ve got hanging up and check out the overall cleanliness and organizational habits of the staff and shop.  A good auto repair shop will be organized and well staffed.

Don’t just settle with the estimate from the first place that you go. Always get at least three estimates in as much detail as possible, preferably from the three best places from your previous search for a good mechanic. Ask questions about the estimates and also about the actual service you would receive.

How Long Should Shock Absorbers Last?

The answer to the question question of when to replace shock absorbers and struts hinges on several variables, including how many miles a vehicle is driven, on what kinds of roads it’s driven, and whether it’s driven gently or with reckless abandon. Your car has a suspension system that provides dampening of shocks and jarring while driving on the road. The suspension also helps improve vehicle handling. There are many different types of suspension systems out there, but the most common by far is a combination of shock absorbers and struts. On older cars, shock absorbers are used on both the front and rear wheels, but modern cars use them primarily on the rear wheels, with strut assemblies on the front.

Both shocks and struts work in a similar way. They use either compressed gas or liquid to help absorb the lateral (up and down) movement of your car caused by bumps, dips, speed bumps, potholes and more. Your shock absorbers are in use any time the car is moving (and even when it’s not). That means they’re subjected to a lot of wear and tear, and they will eventually fail. In fact, they’re considered a normal maintenance item, and they should be replaced relatively regularly. You should also have your shocks and struts inspected at each oil change. In general, a shock absorber should last at least 50,000 miles before you need to have it replaced. However, the real determining factor is where you drive and how you drive. For instance, if you do a lot of off-road driving, or spend a lot of time on dirt roads, your shocks will wear out much more quickly. If you do primarily highway or interstate driving where the roads are smooth and level, they may last well beyond the 50,000-mile mark.
Once your shocks begin to wear, they’ll fail quickly. What happens is that the end seals begin to wear. Eventually, they will fail. The gas or liquid inside the shock absorber will then leak out. In a liquid-based shock, this can be seen as moisture on the top of the shock absorber or running down the side of the assembly. Here are signs to know when to replace your shock absorbers:

1. Longer stopping distance- having worn shock absorbers on your vehicle can increase your stopping distance by up to 20%. As you increase your travelling speed this will also increase the distance it takes your vehicle to completely stop. This 20% extra distance can be enough to cause a fatal incident and should be attended to as soon as possible.

2. Swerving and nose dives- does your car dip or swerve under braking? If so you need to have your shock absorbers checked. If you do dip or swerve under braking it decrease your control over the car which can be very dangerous in wet weather.

3. Vibrations- are you getting vibrations through the steering wheel as you’re driving along? If your shocks are working properly they should keep your tyres in optimal contact with the road and there shouldn’t be any vibrations. If this problem occurs you need to be cautious, at high speeds the vibrations can be more intense and decreasing overall control of the vehicle.
If you think your shocks are in need of attention, you mechanic can help.

How to Survive Winter With Rear-Wheel Drive

Don’t look now, but the winter travel season will be here faster than you can say, “If every day was Christmas.” For drivers, a winter wonderland can mean a nightmare of freezing rain, sleet, ice and snow that no red nose can mitigate. Of course, the end of the year and the depths of winter are when a majority of travelers hit the interstates in their cars — many of which may possess an aspect of their powertrains that counts snow and ice as a traction-reducing, fishtail-inducing mortal enemy: rear-wheel drive. Conventional wisdom suggests that winter roads and rear-wheel drive go together as well as oil and water. Which is to say: not at all! Why? The issue is weight distribution. In a rear-wheel drive vehicle, the engine’s weight is in the front but the drive wheels are in the back. That’s a big difference when you need your tires to grip wet or icy roads. So what’s a rear-wheel driver to do, especially when winter is on its way? A little preparation can lead to safe travels in a rear-wheel vehicle even when snow blankets the road. Take these three tips to heart to survive winter with rear-wheel drive:

1. If the conditions are beyond your abilities, don’t take undo risk; know when to say when. Use weather apps or sites to investigate what Mother Nature has in store for you not just at your destination, but also along your route. Then make an educated decision.

2. Add weight to the rear. By adding weight to the back of the vehicle, you’re essentially adding weight on the axle that provides power. “If there’s weight on the axle and tires which spin,” writes The News Wheel, “the car can grip better.” In a car, this means loading up the trunk. In a truck, this means loading up the bed. You can use sandbags, boxes of kitty litter, or even bags of dirt. On the plus side, sand and dirt can be used in your yard come spring, and kitty litter can be used to clean up oil spills in the garage! Talk about multi purpose materials.

3. Take the time you need to get to your destination safely. Don’t speed.

4. Practice, practice, practice. Driving school executive Todd Harris is blunt about rear-wheel drive. “Rear-wheel drive is the worst configuration to drive in the snow,” says Harris via U.S. News & World Report, but there’s a solution. “The only way you get better at anything is by practice.” When it comes to rear-wheel drive and winter weather, it can make all the difference. You can do this by rehearsing cold weather driving in a rear-wheel drive vehicle and signing up for a winter weather driving class in your area. These classes teach car control techniques using vehicles that simulate skids in special, low-friction environments that mirror winter driving conditions. Rehearsal scenarios may include steering out of a skid and sudden braking in a slippery situation. There are winter driving skill clinics for teens, seniors, pretty much everyone! Do an online search for “winter driving schools” in your area to get started.

5. Be aware that snow and ice changes by the minute, which in turn changes available traction. At any given spot, traction also changes with each car that passes by. Don’t base your braking or turning decisions on other cars.

Truthfully, now that every modern car has traction control and stability programs, rear-wheel drive isn’t much of a challenge. Just slow down. SLOW. DOWN.